Introduction
The Fitbit Charge 2 is a beloved wearable device, renowned for its sleek design and advanced fitness tracking capabilities. However, despite its durability, the daily wear and tear of an active lifestyle can result in unsightly scratches on its surface. These blemishes not only detract from the device's aesthetic appeal but can also hinder its functionality over time. Fortunately, with the right knowledge and tools, it's possible to restore your Fitbit Charge 2 to its former glory.
In this comprehensive guide, we will delve into the world of scratch removal, equipping you with the expertise needed to address this common issue. Whether your Fitbit Charge 2 has fallen victim to minor abrasions or more noticeable scratches, we will explore effective methods to rejuvenate its appearance. By following the step-by-step instructions and leveraging the appropriate tools, you can bid farewell to those pesky scratches and regain the pristine look of your cherished wearable device.
Join us as we embark on a journey to uncover the secrets of scratch removal for the Fitbit Charge 2. From understanding the vulnerable areas prone to scratches to assessing the severity of the damage, we will leave no stone unturned. Furthermore, we will discuss the essential tools and materials required for scratch removal, ensuring that you are well-prepared to undertake this endeavor with confidence.
So, whether you're a fitness enthusiast, a tech aficionado, or simply someone who values the impeccable appearance of their wearable devices, this guide is tailored to assist you in restoring the flawless facade of your Fitbit Charge 2. Let's dive into the world of scratch removal and discover the transformative techniques that will breathe new life into your beloved device.
Understanding the Scratch-Prone Areas of Fitbit Charge 2
The Fitbit Charge 2, with its sleek and minimalist design, is a testament to modern wearable technology. However, despite its durable construction, certain areas are more susceptible to scratches due to their exposure during everyday use. Understanding these scratch-prone areas is crucial for effectively addressing and preventing damage.
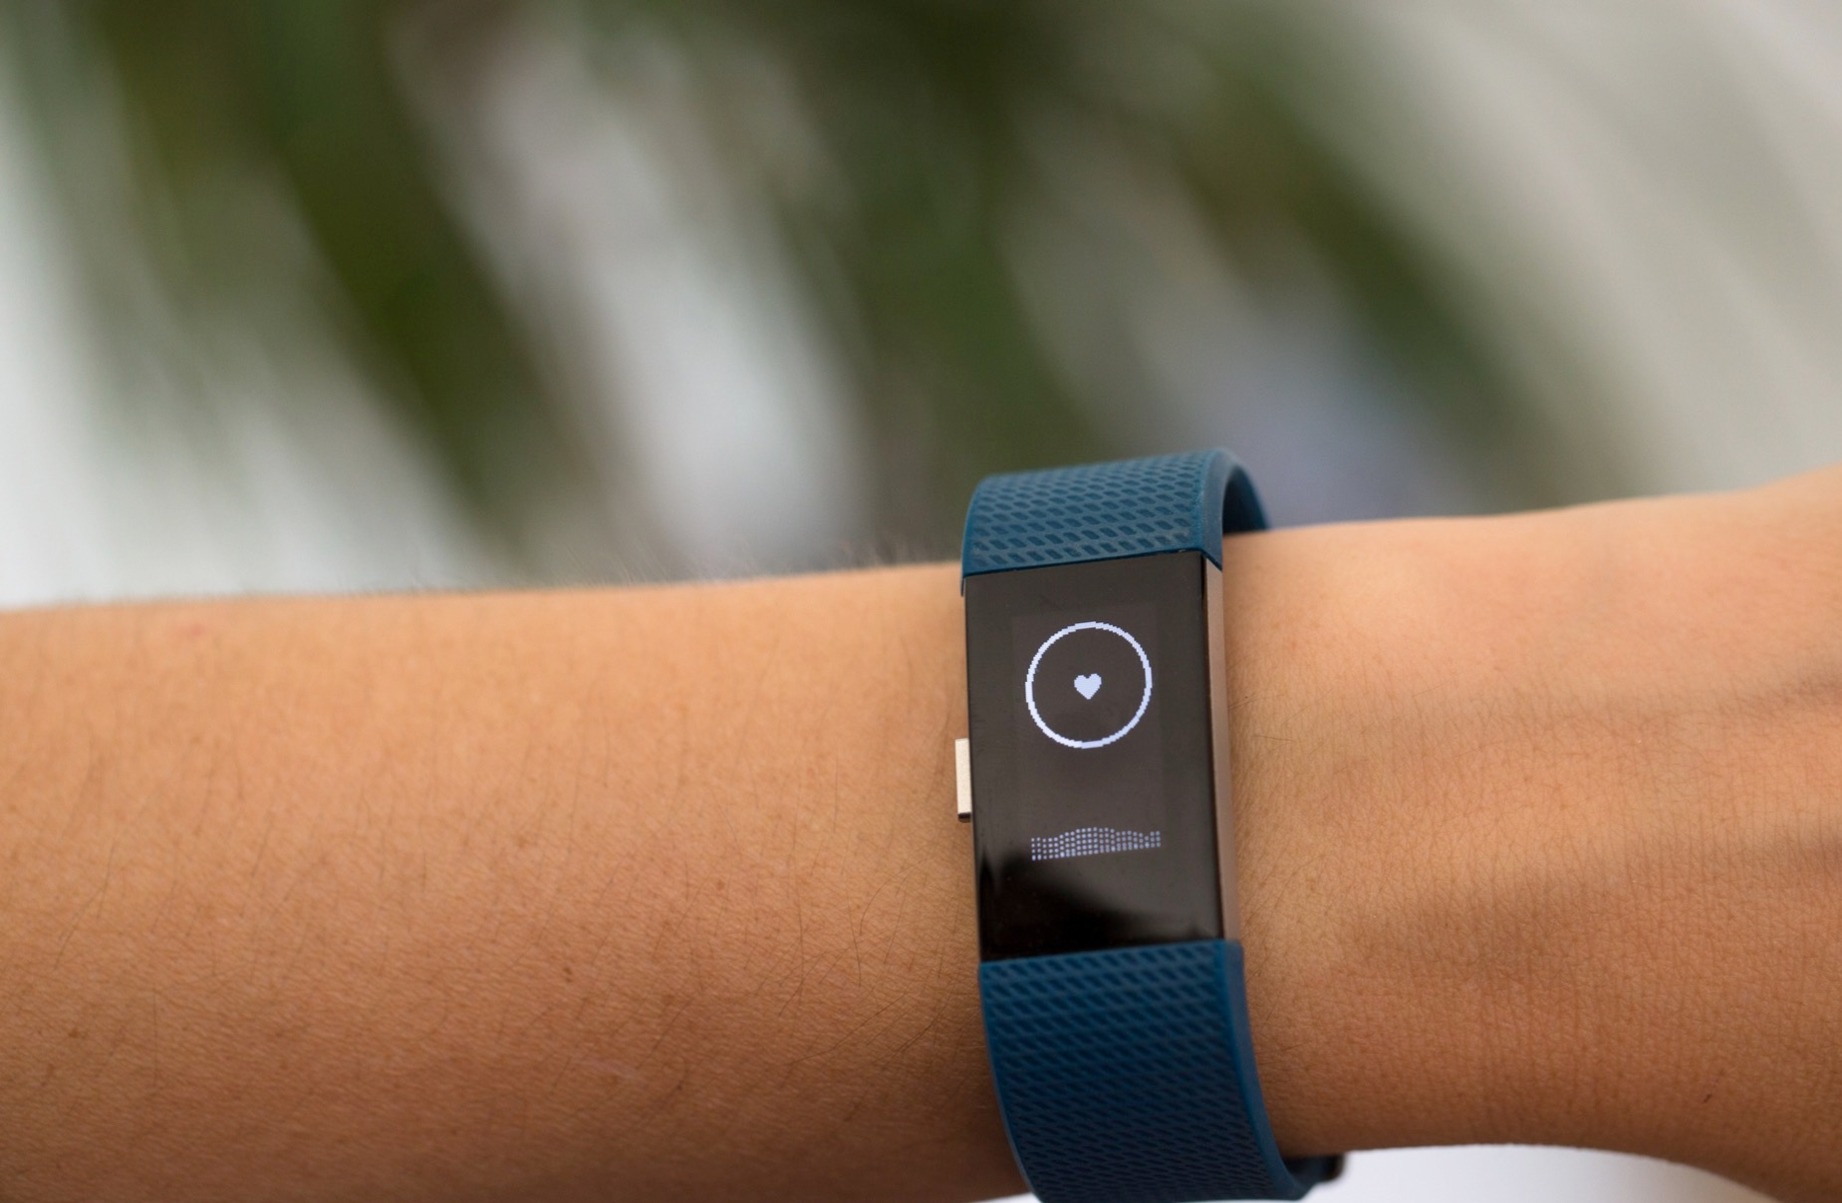
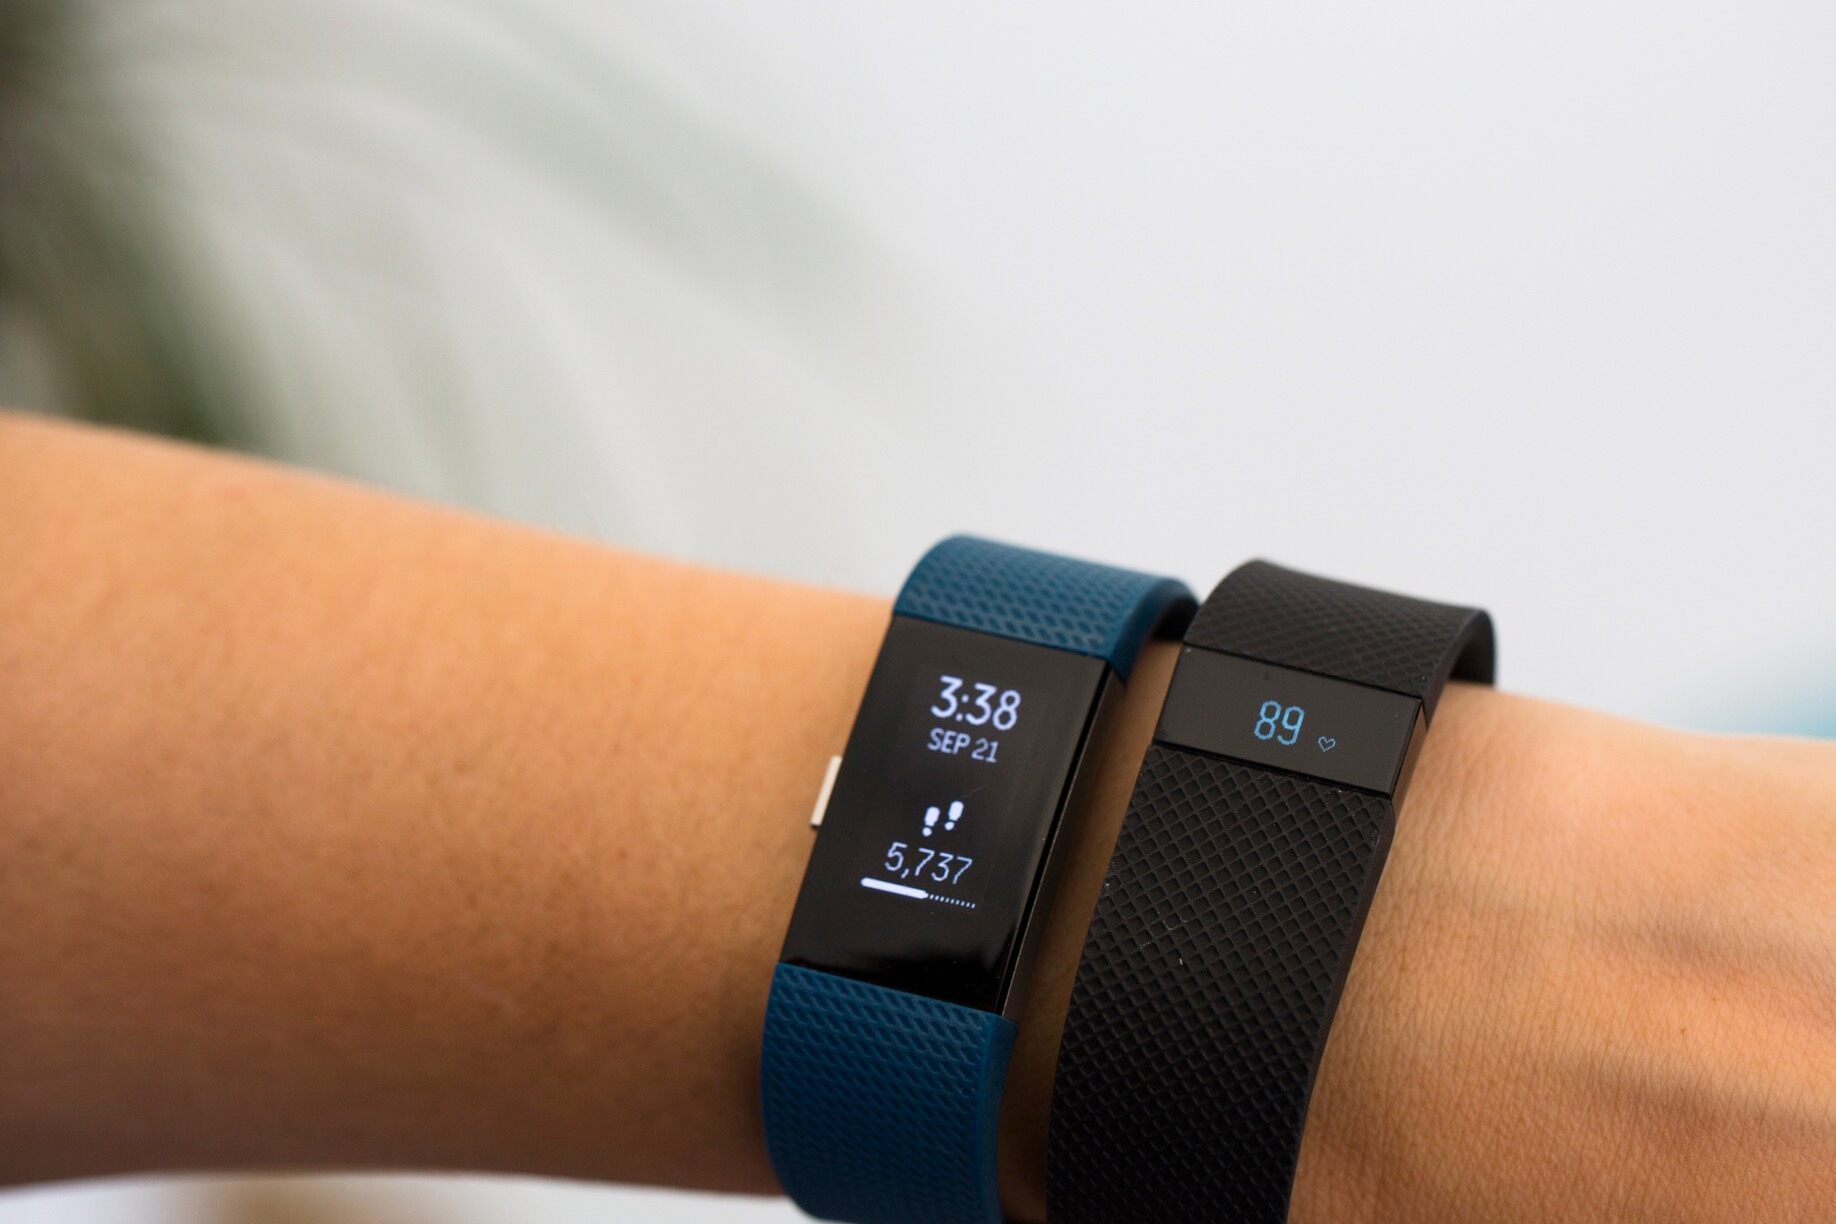
The display of the Fitbit Charge 2 is a prominent feature that provides users with vital information such as heart rate, step count, and notifications. Its expansive surface area, while essential for visibility, is also highly vulnerable to scratches. Whether it's accidental contact with hard surfaces or the friction caused by regular movement, the display is often the first area to exhibit signs of wear and tear.
The stainless steel casing, which encases the internal components of the device, is another area prone to scratches. While stainless steel is renowned for its durability, it is not impervious to abrasions. Daily activities, including exercise, household chores, or simply navigating through crowded spaces, can subject the casing to potential damage.
Furthermore, the underside of the Fitbit Charge 2, particularly the heart rate sensor and charging contacts, is susceptible to scratches. Continuous contact with the skin and frequent charging cycles can gradually diminish the pristine appearance of these critical components.
The band of the Fitbit Charge 2, depending on the material, can also be prone to scratching. Whether it's the classic elastomer band or a premium leather alternative, prolonged use and exposure to various environmental factors can lead to visible blemishes.
Understanding these scratch-prone areas empowers users to take proactive measures in safeguarding their Fitbit Charge 2. By recognizing the vulnerable areas, individuals can implement protective strategies and regular maintenance to mitigate the risk of scratches. Moreover, this awareness facilitates informed decisions when selecting accessories or protective coverings to preserve the device's aesthetic appeal.
In the subsequent sections, we will delve into assessing the severity of scratches, identifying the necessary tools and materials for scratch removal, and providing a comprehensive guide to effectively rejuvenate the appearance of the Fitbit Charge 2. Stay tuned as we unravel the intricacies of scratch removal and restoration for this iconic wearable device.
Assessing the Severity of Scratches
When it comes to addressing scratches on your Fitbit Charge 2, a crucial initial step is to assess the severity of the damage. This assessment serves as the foundation for determining the most appropriate course of action to restore the device's appearance. Scratches can vary in depth and visibility, ranging from superficial marks to more pronounced abrasions that compromise the device's aesthetics. By closely evaluating the scratches, you can gain valuable insights into the extent of the damage and tailor your approach accordingly.
Begin by examining the scratches under adequate lighting, preferably natural light or a well-lit environment. This illumination will facilitate a clear and detailed assessment of the scratches, allowing you to discern their depth and extent. Superficial scratches may appear as faint lines or marks on the surface, often causing minimal distortion to the overall appearance of the device. In contrast, deeper scratches may exhibit more pronounced indentations and have a noticeable impact on the device's visual appeal.
Next, run your fingertip gently over the scratched areas to gauge the texture and depth of the blemishes. Superficial scratches tend to be smooth to the touch, with minimal irregularities that are barely perceptible. Conversely, deeper scratches may present a rough or uneven texture, indicating a more substantial impact on the device's surface. This tactile assessment provides valuable tactile feedback, complementing the visual inspection and aiding in the accurate classification of the scratches.
Furthermore, consider the location of the scratches on the device. Scratches on the display, particularly near the edges or central viewing area, can significantly impair visibility and detract from the user experience. Similarly, scratches on the stainless steel casing or the underside of the device may compromise its overall aesthetic appeal. By taking into account the placement of the scratches, you can prioritize the areas that require immediate attention and devise a targeted approach for restoration.
In essence, assessing the severity of scratches involves a comprehensive evaluation of their appearance, texture, and location. By meticulously scrutinizing the scratches and discerning their characteristics, you can make informed decisions regarding the most suitable methods for scratch removal. This discerning approach ensures that your efforts are tailored to the specific needs of your Fitbit Charge 2, paving the way for effective restoration and a rejuvenated appearance.
Tools and Materials Needed for Scratch Removal
When embarking on the journey to remove scratches from your Fitbit Charge 2, having the right tools and materials at your disposal is paramount. These essential components will enable you to execute the scratch removal process with precision and efficacy, ensuring that your beloved wearable device is restored to its pristine condition. Let's explore the indispensable tools and materials required for this transformative endeavor:
Microfiber Cloth:
A high-quality microfiber cloth serves as the cornerstone of scratch removal for the Fitbit Charge 2. Its ultra-fine fibers are designed to gently lift and remove surface imperfections without causing additional damage. When paired with a suitable cleaning solution, a microfiber cloth becomes a versatile tool for buffing out minor scratches and restoring the device's luster.
Screen Cleaning Solution:
A non-abrasive and streak-free screen cleaning solution is essential for preparing the display of the Fitbit Charge 2 for scratch removal. This specialized solution effectively dissolves oils, fingerprints, and other residues, ensuring that the surface is impeccably clean before addressing the scratches. Opt for a reputable screen cleaning solution that is compatible with electronic displays to safeguard the integrity of the device.
Plastic Polish or Metal Polish (Depending on Casing):
The choice between plastic polish and metal polish depends on the material of the casing. For the stainless steel casing, a high-quality metal polish is indispensable for buffing out scratches and restoring the sheen of the metal surface. Conversely, if the casing is composed of a durable plastic material, a suitable plastic polish is the preferred option for addressing scratches and enhancing the appearance of the casing.
Protective Gloves (Optional):
While not essential, protective gloves can provide an added layer of safeguarding during the scratch removal process. These gloves protect your hands from any cleaning solutions or polishes, minimizing direct contact with potentially harsh chemicals. Additionally, they help maintain a clean and smudge-free surface during the restoration process.
Soft Bristled Brush:
A soft bristled brush, such as a clean and dry paintbrush or a dedicated electronics cleaning brush, is invaluable for delicately removing debris and particulate matter from the nooks and crevices of the Fitbit Charge 2. This meticulous cleaning ensures that the scratch removal process is performed on a thoroughly cleansed surface, optimizing the effectiveness of the restoration efforts.
Protective Cover or Screen Protector (Optional):
To prevent future scratches and safeguard the device from daily wear and tear, consider investing in a protective cover or screen protector designed specifically for the Fitbit Charge 2. These accessories provide an additional layer of defense against scratches, impact, and environmental factors, prolonging the pristine appearance of the device.
By assembling these essential tools and materials, you are equipped to embark on the transformative journey of scratch removal for your Fitbit Charge 2. With meticulous preparation and the right resources at your disposal, you can confidently address scratches and restore the impeccable facade of your cherished wearable device.
Step-by-Step Guide to Removing Scratches
-
Prepare the Workspace: Begin by setting up a clean and well-lit workspace to facilitate the scratch removal process. Ensure that you have easy access to the necessary tools and materials, creating an environment conducive to meticulous restoration.
-
Clean the Surface: Using a gentle screen cleaning solution and a microfiber cloth, thoroughly clean the surface of the Fitbit Charge 2. This step eliminates any dirt, oils, or residues that may impede the scratch removal process, ensuring a pristine starting point.
-
Assess the Scratches: Revisit the scratched areas, carefully evaluating their severity and location. This reassessment enables you to prioritize the scratches and tailor your approach based on the specific needs of each area.
-
Apply Plastic or Metal Polish: Depending on the material of the casing, apply a small amount of the appropriate polish to the scratched areas. Using a clean section of the microfiber cloth, gently buff the polish in circular motions, gradually addressing the scratches and restoring the luster of the surface.
-
Focus on the Display: For scratches on the display, apply a minimal amount of plastic polish specifically designed for electronic screens. With gentle yet deliberate movements, buff out the scratches, taking care to maintain an even pressure across the entire display.
-
Delicate Detailing: Utilize the soft bristled brush to delicately remove any residual polish or debris from the nooks and crevices of the device. This meticulous detailing ensures that the restoration process is thorough and comprehensive.
-
Final Inspection: After addressing the scratches, conduct a final inspection under adequate lighting to assess the effectiveness of the restoration. Run your fingertip over the previously scratched areas, noting the smoothness and improved appearance.
-
Consider Protective Measures: To safeguard the device from future scratches, contemplate investing in a protective cover or screen protector. These accessories provide an additional layer of defense, prolonging the pristine appearance of your Fitbit Charge 2.
By following this step-by-step guide, you can effectively remove scratches from your Fitbit Charge 2, restoring its flawless facade and ensuring that it continues to exude its signature elegance. With patience, precision, and the right tools, you can embark on this transformative journey with confidence, breathing new life into your cherished wearable device.
Preventing Future Scratches
Preventing future scratches on your Fitbit Charge 2 is essential for maintaining its pristine appearance and prolonging its longevity. By implementing proactive measures and integrating protective strategies into your daily routine, you can minimize the risk of unsightly blemishes and preserve the sleek aesthetic of your cherished wearable device.
Protective Covers and Screen Protectors
Investing in a high-quality protective cover or screen protector tailored for the Fitbit Charge 2 is a proactive approach to shield the device from potential scratches and abrasions. These accessories serve as a resilient barrier, absorbing impact and mitigating the effects of accidental contact with hard surfaces. Opt for a durable cover or screen protector designed to complement the sleek profile of the Fitbit Charge 2 without compromising its functionality or visual appeal.
Regular Cleaning and Maintenance
Establishing a routine for regular cleaning and maintenance is instrumental in preventing scratches and preserving the pristine condition of your Fitbit Charge 2. Use a gentle screen cleaning solution and a microfiber cloth to remove dirt, oils, and residues from the device, paying particular attention to the display and casing. By keeping the device clean and free from debris, you minimize the likelihood of abrasive particles causing inadvertent scratches during everyday use.
Mindful Handling and Storage
Practicing mindful handling and conscientious storage of your Fitbit Charge 2 significantly reduces the exposure of the device to potential sources of damage. Avoid placing the device in close proximity to abrasive materials or sharp objects, and handle it with care during activities that may subject it to impact or friction. When not in use, store the device in a designated location that minimizes the risk of accidental scratches or surface abrasions.
Protective Accessories
Consider accessorizing your Fitbit Charge 2 with protective bands or cases designed to safeguard the device from external hazards. These specialized accessories provide an additional layer of defense, particularly during physical activities or when the device is exposed to environments where scratches are more likely to occur. Select protective accessories that align with your personal style and preferences, ensuring that they seamlessly integrate with the device while offering enhanced protection.
By integrating these preventive measures into your care routine, you can fortify the resilience of your Fitbit Charge 2 against scratches and maintain its flawless exterior. Through a combination of protective accessories, regular maintenance, and mindful handling, you can uphold the impeccable appearance of your wearable device, allowing it to continue complementing your active lifestyle without the burden of unsightly scratches.
Conclusion
In conclusion, the journey to remove scratches from the Fitbit Charge 2 unveils a transformative process that empowers users to restore the impeccable facade of their cherished wearable device. By understanding the vulnerability of specific areas prone to scratches, assessing the severity of the damage, and leveraging the essential tools and materials for scratch removal, individuals can embark on a journey of rejuvenation with confidence and precision.
The step-by-step guide to removing scratches provides a comprehensive framework for addressing surface imperfections and restoring the luster of the Fitbit Charge 2. From meticulous surface preparation to the delicate detailing of the restoration process, each step contributes to the seamless transformation of the device, ensuring that it continues to exude its signature elegance.
Furthermore, the emphasis on preventing future scratches underscores the proactive measures and protective strategies that users can integrate into their daily routines. By investing in protective covers, practicing regular cleaning and maintenance, and mindful handling and storage, individuals can fortify the resilience of their Fitbit Charge 2 against potential damage, preserving its flawless exterior for years to come.
Ultimately, the removal of scratches from the Fitbit Charge 2 transcends mere restoration; it embodies a commitment to upholding the integrity and visual appeal of a beloved wearable device. Through the amalgamation of meticulous techniques, preventive measures, and a discerning approach to maintenance, users can ensure that their Fitbit Charge 2 remains a testament to durability, sophistication, and unwavering performance.
As we conclude this comprehensive guide to scratch removal for the Fitbit Charge 2, it is evident that the journey does not merely entail the elimination of blemishes; it represents a dedication to the enduring beauty and functionality of a device that seamlessly integrates into the active lifestyles of its users. With the knowledge and expertise gained from this guide, individuals are equipped to embark on the transformative journey of scratch removal, breathing new life into their Fitbit Charge 2 and preserving its pristine allure for countless adventures ahead.